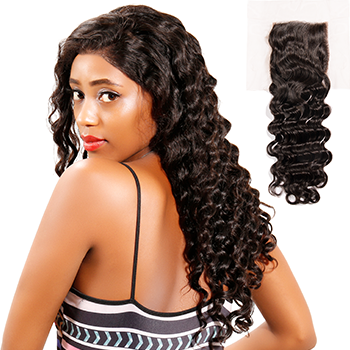
When it comes to achieving a flawless and natural-looking wig installation, one crucial step is bleaching the knots. Bleaching knots helps to create the illusion of hair growing directly from the scalp, making your wig appear more realistic.
Step 1: Gather Your Materials:
Before you begin, it's important to have all the necessary materials ready. Here's what you'll need:
A high-quality bleaching powder or cream.
A developer (20 or 30 volume) appropriate for your bleaching product.
A mixing bowl and brush.
Gloves to protect your hands.
Plastic wrap or a shower cap.
A towel or cloth to protect your work surface.
Step 2: Prepare the Bleaching Mixture:
In your mixing bowl, combine the bleaching powder or cream with the developer, following the instructions provided by the manufacturer. Mix until you achieve a smooth and consistent paste. Be sure to wear gloves during this step to protect your hands from the strong chemicals.
Step 3: Secure the Wig and Apply the Bleaching Mixture:
Place your wig on a wig stand or mannequin head to keep it stable during the bleaching process. Carefully apply the bleaching mixture to the knots using a small brush. Start from the back of the wig and work your way forward, ensuring that each knot is evenly coated. Be cautious not to apply the mixture to the hair strands, as this can lead to unnecessary damage.
Tags:
natural hairstyles
bleaching knots
small knots
hair tutorial


